The 300 Dollar Frosting has earned its extravagant name not from costly ingredients but from its million-dollar taste. This buttery, velvety frosting achieves the perfect balance of sweetness with a cloud-like texture that professional pastry chefs strive for. Unlike typical American buttercream that can be grainy and overly sweet, this frosting uses a specialized technique and temperature-controlled process to create a silky-smooth consistency that pipes beautifully and melts on the tongue. Once you’ve experienced its rich vanilla flavor and luxurious mouthfeel on cakes and cupcakes, you’ll understand why it’s considered priceless by baking enthusiasts.
300 Dollar Frosting
The Ultimate Luxury for Your Homemade Desserts
In the world of baking, few elements transform a simple dessert into a memorable experience quite like the perfect frosting. The 300 Dollar Frosting, despite its intriguing name, isn’t about breaking the bank—it’s about creating a frosting so luxuriously delicious that it tastes like it should cost a fortune. This exceptional recipe has gained legendary status among home bakers and professionals alike for its unparalleled silky texture, balanced sweetness, and remarkable versatility.
What sets this frosting apart is its meticulous preparation method, which combines traditional buttercream techniques with innovative approaches to create something truly extraordinary. Unlike conventional frostings that can be cloyingly sweet or grainy in texture, the 300 Dollar Frosting achieves a professional-quality smoothness and a sophisticated flavor profile that complements rather than overwhelms your baked creations. The careful temperature control and incorporation of ingredients result in a frosting that spreads like a dream and maintains its stability, even in challenging environments.
The magic of this frosting lies partly in its unique combination of butter types and the precise balance of fats and sugars, creating a mouthfeel that’s simultaneously light and rich. The addition of premium vanilla—a non-negotiable component—brings depth and character that elevates the entire experience. Many devotees of this recipe report that it has permanently ruined them for store-bought alternatives, as the difference in quality is immediately apparent.
Worth Every Imaginary Penny
While it requires slightly more attention than simpler frosting recipes, the technique is accessible to bakers of all skill levels who are willing to follow the instructions carefully. The result of your effort is a frosting worthy of special occasions—birthdays, anniversaries, holidays—though many enthusiasts find themselves making it for everyday treats simply because nothing else compares.
Whether you’re frosting a multi-tiered wedding cake, decorating a batch of cupcakes, or creating a showstopping layer cake, the 300 Dollar Frosting promises to elevate your creation from merely good to truly unforgettable. Once you’ve mastered this recipe, you’ll understand why some secrets are too delicious to keep and why certain recipes become the treasured heirlooms of baking collections.
Storage Options
- Room Temperature: Frosted items can remain at cool room temperature (below 70°F/21°C) for up to 2 days.
- Refrigeration: Store frosting in an airtight container for up to 1 week. Before using, bring to room temperature and re-whip for 3-5 minutes to restore texture.
- Freezing: Freeze in an airtight container for up to 3 months. Thaw overnight in the refrigerator, then bring to room temperature and re-whip until fluffy.
- Piping Bags: Prepared frosting can be stored in piping bags in the refrigerator for up to 3 days.
Summary
The 300 Dollar Frosting is a premium buttercream that achieves professional bakery quality through a unique preparation method involving temperature control and careful ingredient incorporation. Unlike standard buttercream, this frosting features a silky-smooth texture with no graininess, a perfectly balanced sweetness, and exceptional stability for piping and decorating. The recipe uses common pantry ingredients but elevates them through technique, resulting in a versatile frosting suitable for cakes, cupcakes, cookies, and more. While requiring slightly more attention than basic frosting recipes, the luxurious results make it well worth the extra effort.
Equipment
- Stand mixer with paddle attachment (preferred) or hand mixer
- Rubber spatula
- Digital food thermometer
- Medium saucepan
- Measuring cups and spoons
- Small bowl for egg whites
- Whisk
- Sifter or fine-mesh strainer
Ingredients
- 2 cups (452g) unsalted butter, room temperature, divided (1½ cups for frosting, ½ cup for initial cooking)
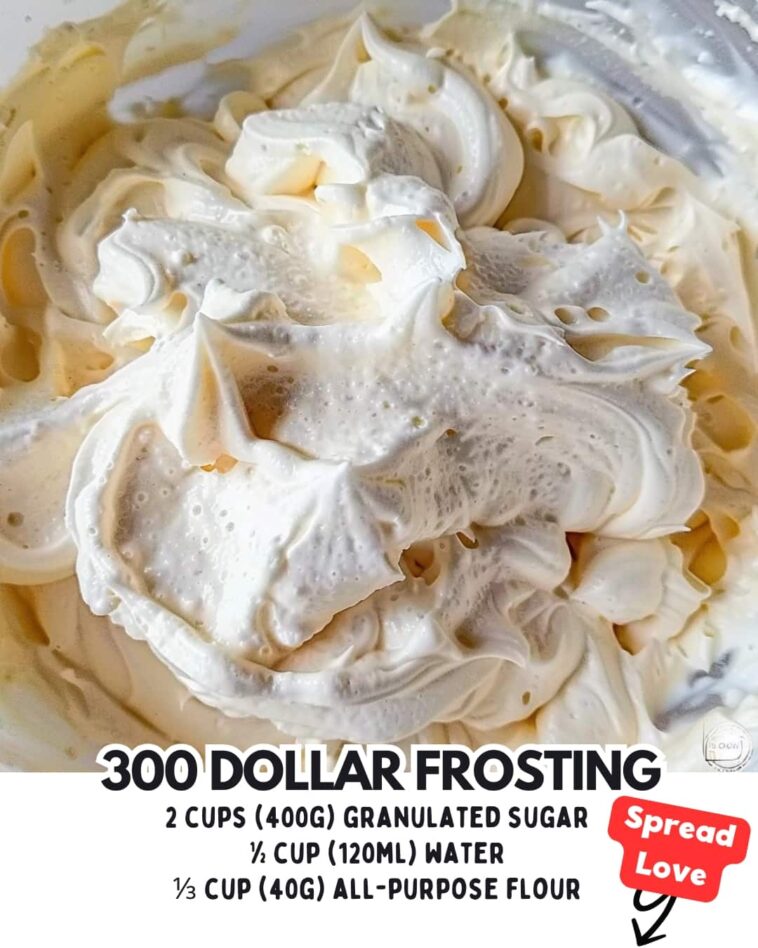
- 2 cups (400g) granulated sugar
- ½ cup (120ml) water
- ⅓ cup (40g) all-purpose flour
- ¼ teaspoon salt
- 1 cup (240ml) whole milk
- 5 large egg whites, room temperature
- 2 teaspoons pure vanilla extract (use premium quality)
- ¼ teaspoon almond extract (optional)
Instructions
- Cut ½ cup (113g) of butter into small pieces and set aside. Leave the remaining 1½ cups (339g) of butter out to reach room temperature.
- In a medium saucepan, whisk together flour, 1 cup of the granulated sugar, and salt until well combined.
- Gradually whisk in the milk until smooth, ensuring no lumps remain.
- Cook the mixture over medium heat, whisking constantly, until it thickens to a pudding-like consistency, about 5-7 minutes.
- Remove from heat and add the ½ cup of butter pieces, stirring until completely melted and incorporated.
- Transfer this mixture to a shallow dish and cover with plastic wrap, pressing it directly onto the surface to prevent a skin from forming. Allow to cool completely to room temperature (about 1 hour, or speed up in the refrigerator).
- In another saucepan, combine the remaining 1 cup of granulated sugar with water. Attach the food thermometer and bring to a boil without stirring.
- Meanwhile, in the bowl of your stand mixer fitted with the whisk attachment, begin beating the egg whites on medium speed until foamy.
- Continue cooking the sugar syrup until it reaches 240°F (soft-ball stage).
- With the mixer running on medium speed, carefully pour the hot sugar syrup in a thin stream into the foamy egg whites. Avoid pouring onto the whisk or sides of the bowl.
- Increase the mixer speed to high and beat until the meringue is thick, glossy, and the bowl feels just slightly warm to the touch, about 7-10 minutes.
- Switch to the paddle attachment. Add the room temperature 1½ cups of butter, a tablespoon at a time, mixing well after each addition. The mixture might appear curdled at some point, but continue beating—it will come together.
- Once all butter is incorporated, add the cooled flour mixture a spoonful at a time, mixing thoroughly after each addition.
- Add the vanilla extract and almond extract (if using) and beat on high speed for 5 minutes until extremely light and fluffy.
- Use immediately or store according to the storage guidelines.
Notes
- The temperature of ingredients is crucial—butter should be soft but still cool to the touch, not melted or greasy.
- If the frosting appears curdled during mixing, continue beating; it will come together as it reaches the correct temperature.
- This frosting is stable in moderate temperatures but will soften in hot conditions above 80°F (27°C).
- For chocolate version, add 8 ounces of melted and cooled high-quality chocolate after incorporating the flour mixture.
- This recipe makes enough frosting for a 9-inch three-layer cake or approximately 24 cupcakes.
Tips for Success
- Ensure all dairy ingredients are at room temperature before beginning for smooth incorporation.
- Use a digital thermometer for the sugar syrup—accuracy is important for proper meringue formation.
- If your frosting is too soft, refrigerate for 15-20 minutes, then beat again. If too firm, warm the bowl gently with your hands while beating.
- When adding the hot sugar syrup to egg whites, pour it down the side of the bowl rather than directly onto the whisk to prevent splashing and sugar crystallization.
- Beat the final frosting for the full recommended time—the extended whipping creates the signature silky texture.
- For pure white frosting, add a tiny drop of violet food coloring to counteract the natural yellow from the butter.
- Sift the flour before measuring to prevent any lumps in the base mixture.
- If the flour mixture develops lumps during cooking, strain it through a fine-mesh sieve before cooling.
Additional Tips and Variations
- Cream Cheese Variation: Replace ½ cup of the butter with 8 ounces of room temperature cream cheese added after all the butter has been incorporated.
- Chocolate Version: Fold in 8 ounces of melted and cooled high-quality chocolate after completing the basic recipe.
- Citrus Frosting: Add 1-2 tablespoons of citrus zest (lemon, orange, or lime) and substitute some of the vanilla extract with corresponding citrus extract.
- Berry Frosting: Add ¼ cup of strained berry puree (raspberry, strawberry, or blackberry) and a drop of corresponding food coloring if desired.
- Coffee Variation: Dissolve 2 tablespoons of espresso powder in 1 tablespoon of hot water, cool, then add to the completed frosting.
- Caramel Version: Add ⅓ cup of cooled salted caramel sauce after completing the basic recipe.
- Maple Variation: Substitute pure maple syrup for half of the sugar in the flour mixture, and add ½ teaspoon of maple extract.
- Baileys Irish Cream: Replace vanilla extract with 2 tablespoons of Baileys Irish Cream liqueur.
- Coconut: Add ½ teaspoon of coconut extract and fold in ½ cup of finely shredded unsweetened coconut.
- Color Variations: This frosting takes food coloring beautifully—use gel colors for the most vibrant results without affecting consistency.
Frequently Asked Questions (FAQ)
Q: Why is it called “300 Dollar Frosting”? A: The name comes from its luxurious taste and texture that make it seem incredibly valuable, not from expensive ingredients. Some say it originated when someone claimed they’d pay $300 for the recipe!
Q: Can I make this without a stand mixer? A: While a stand mixer is ideal, a hand mixer can work if you have patience and a strong arm. The meringue stage will take significantly longer with a hand mixer.
Q: My frosting looks curdled or separated. Can it be saved? A: Yes! Continue beating for several more minutes. If it remains separated, the issue may be temperature. If too cold, gently warm the bowl while beating; if too warm, chill for 15 minutes and try again.
Q: Can I use salted butter instead of unsalted? A: Unsalted is preferred for controlled flavor, but if you use salted butter, omit the added salt in the recipe.
Q: How do I achieve colored frosting without affecting the texture? A: Use gel or paste food coloring rather than liquid. Add small amounts at the very end of mixing until you achieve the desired shade.
Q: Is this frosting suitable for people with dietary restrictions? A: This recipe contains dairy, eggs, and gluten (from flour), making it unsuitable for vegans or those with these specific allergies. There are no nuts in the base recipe, though the optional almond extract should be avoided for nut allergies.
Conclusion
The 300 Dollar Frosting represents the pinnacle of homemade buttercream achievement—a recipe that transforms ordinary baked goods into extraordinary desserts worthy of celebration. What makes this frosting truly special isn’t rare or expensive ingredients, but rather the careful technique and attention to detail that result in a professional-quality product from your own kitchen.
The time and care invested in creating this frosting pays enormous dividends in the final result: a silky-smooth, perfectly sweetened topping that pipes beautifully, holds its shape, and delivers a luxurious mouthfeel that store-bought or simpler homemade frostings simply cannot match. It’s the difference between a good dessert and an unforgettable one.
Perhaps the greatest testament to this recipe’s value is the reaction it consistently evokes—the moment of surprise when someone tastes a cupcake or slice of cake and realizes the frosting is something extraordinary. It’s the type of recipe that gets requested again and again, passed down through generations, and shared among friends who appreciate the difference that quality makes.
While it may require a bit more effort than opening a can of pre-made frosting, the 300 Dollar Frosting reminds us that some culinary experiences are worth the extra time and attention. In a world of shortcuts and approximations, this recipe stands as a celebration of doing things the proper way—and being richly rewarded for that commitment to excellence. Whether for special occasions or simply to make an ordinary day more delicious, this frosting proves that some luxuries are accessible to anyone willing to invest a little time and care in their creation.