in

Butterfinger Balls

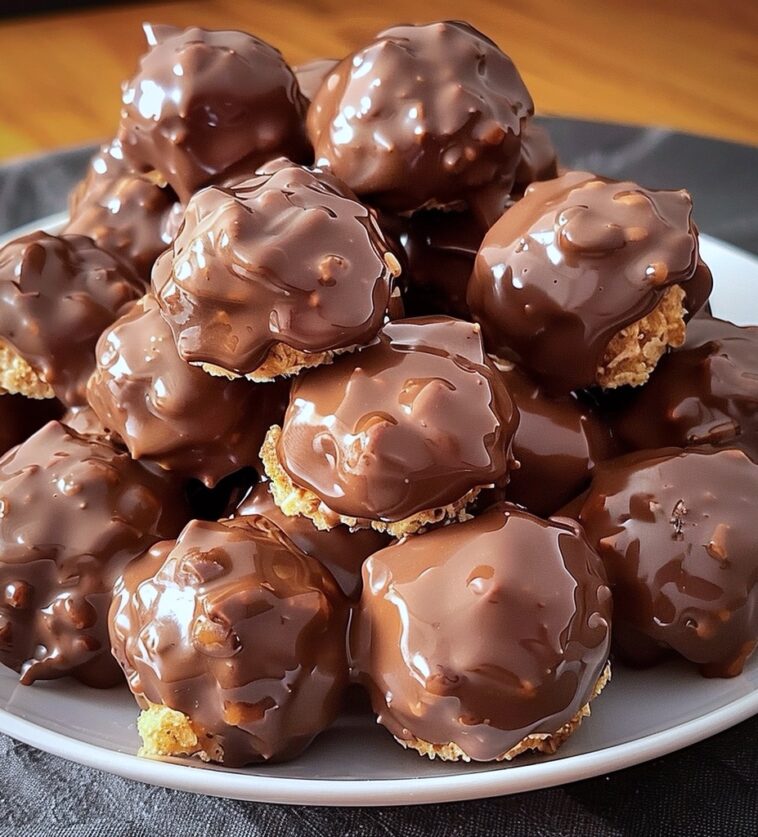
If you’re looking for a treat that’s quick, irresistible, and packed with nostalgic candy bar flavor, Butterfinger Balls are it. These no-bake bites combine creamy peanut butter, crushed Butterfinger candy bars, and chocolate into the perfect sweet-and-salty indulgence. They’re rich, crunchy, smooth, and so satisfying with every bite. Whether you’re making them for a holiday platter, party dessert table, or just as a fun family treat, Butterfinger Balls are a guaranteed hit. They come together in minutes and don’t require an oven, making them ideal for warm-weather days or last-minute dessert needs.

These candy-inspired bites are also highly shareable, transport well, and store beautifully. Their creamy center mixed with the crunch of Butterfinger pieces gives a fun texture that’s totally addictive. And because they’re bite-sized, they’re easy to portion and enjoy without feeling too heavy. You don’t need to be a pro baker to pull these off, and the reward is a whole batch of irresistible treats with minimal effort.

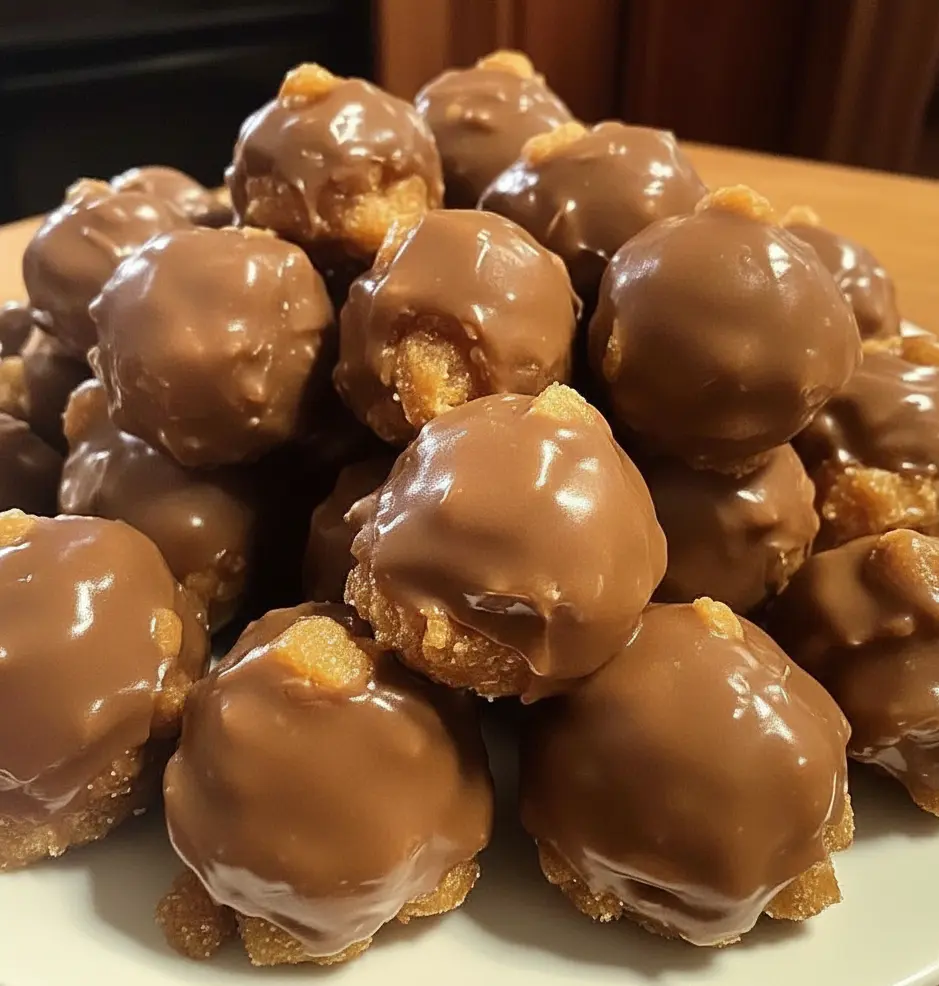
Butterfinger Balls can be stored in an airtight container in the refrigerator for up to 1 week. For longer storage, freeze them in a single layer on a tray before transferring to a freezer bag or container. They’ll last up to 2 months in the freezer and can be enjoyed straight from the fridge or after sitting at room temperature for a few minutes.

This recipe makes about 24–30 balls, depending on the size you roll them. It’s a great dessert for beginner candy makers or anyone looking for a fun way to use up leftover Halloween candy. They’re no-bake, super forgiving, and easy to scale up for bigger batches.

You’ll love this recipe because it’s fast, fun, and packed with nostalgic flavor. There’s no oven, no fancy equipment, and the results are always a crowd-pleaser. Plus, the combo of peanut butter and chocolate with that signature Butterfinger crunch is just plain dreamy.

To make Butterfinger Balls, you’ll need a mixing bowl, rubber spatula or spoon, a small cookie scoop or tablespoon, and a baking sheet lined with parchment paper. You’ll also need a microwave-safe bowl for melting chocolate.

For best results, use creamy peanut butter, not the natural kind that separates. Chill the mixture before rolling to make shaping easier. When dipping in chocolate, use a fork or dipping tool to coat evenly and let the excess drip off for a smooth finish.

Ingredients

1 cup creamy peanut butter

2 tablespoons unsalted butter, softened

1 ½ cups powdered sugar

6 fun-size Butterfinger candy bars, crushed (about ¾ cup)

10 ounces semisweet or milk chocolate chips

1 tablespoon coconut oil or shortening (optional, for smoother chocolate)

Directions

In a mixing bowl, combine peanut butter and softened butter until smooth. Gradually mix in powdered sugar until a thick dough forms. Stir in crushed Butterfinger pieces. Chill the mixture in the fridge for about 20–30 minutes.

Using a small cookie scoop or spoon, roll into 1-inch balls and place on a parchment-lined baking sheet. Freeze the balls for 15–20 minutes to firm them up.

In a microwave-safe bowl, melt chocolate chips with coconut oil (if using) in 30-second intervals, stirring between each, until smooth.

Dip each ball into the melted chocolate, letting the excess drip off, and return to the baking sheet. Let set at room temperature or chill in the fridge until firm.

For variations, try using white chocolate or dark chocolate for the coating. Add a pinch of sea salt on top before the chocolate sets for a sweet-and-salty twist. You can even roll the finished balls in extra crushed Butterfinger pieces for extra crunch.

For Ingredients And Complete Cooking Instructions Please Head On Over To Next Page Or Open button (>) and don’t forget to SHARE with your Facebook friends