Learn how to make authentic Salvadoran cheese pupusas soft corn masa pockets filled with melty cheese, served with curtido and salsa roja for a delicious homemade meal.
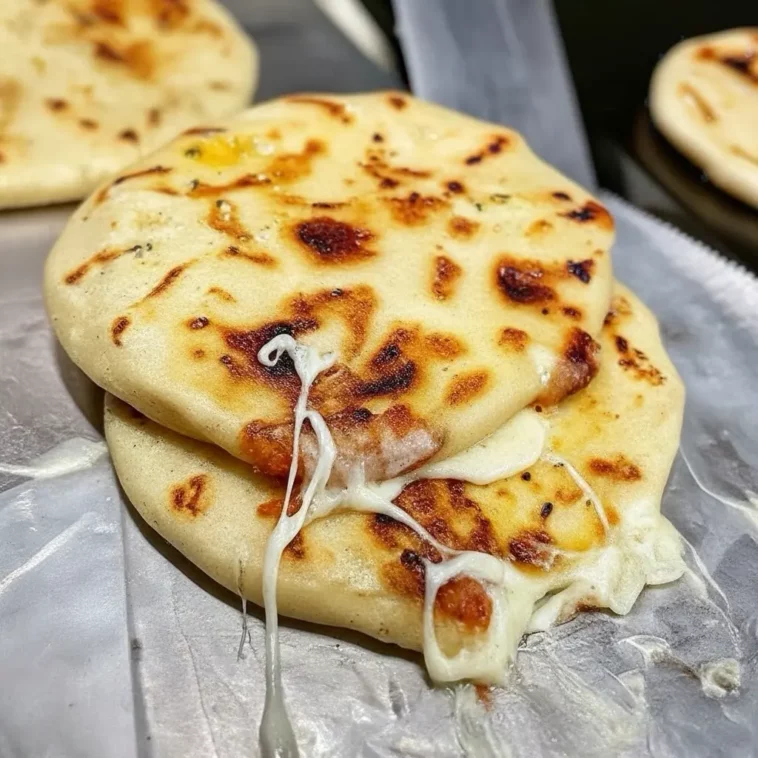
Cheese pupusas are one of El Salvador’s most beloved dishes — soft, thick corn tortillas stuffed with gooey cheese and griddled until golden. Simple yet incredibly satisfying, these savory pockets are traditionally enjoyed with curtido (a tangy cabbage slaw) and salsa roja. The best part? You only need a few ingredients to make them at home. Once you learn this method, you’ll want to fill them with beans, pork, or even vegetables too!
Why You’ll Love This Recipe
- Authentic Salvadoran flavor made with easy-to-find ingredients.
- Perfectly crisp on the outside and soft inside.
- Freezer-friendly and great for meal prep.
- Customizable — add your favorite fillings!
Equipment
- Mixing bowl
- Griddle or nonstick skillet
- Spatula
- Measuring cups and spoons
Ingredients
- 2 cups masa harina (corn flour, such as Maseca)
- 1 1/2 cups warm water (plus more if needed)
- 1/2 teaspoon salt
- 1 1/2 cups shredded mozzarella cheese (or Salvadoran quesillo if available)
- Oil, for greasing hands and skillet
Instructions
- In a large bowl, combine masa harina and salt. Gradually add warm water while mixing until a soft, pliable dough forms. It should feel like playdough — not too dry or sticky.
- Divide the dough into 8 equal balls. Keep them covered with a damp towel to prevent drying.
- Flatten one ball into a 4-inch disc using your palms.
- Place about 2 tablespoons of shredded cheese in the center. Gently fold the edges over the cheese to close and form a ball again.
- Flatten the filled ball gently into a 1/2-inch thick disc, ensuring the cheese stays sealed inside.
- Heat a lightly oiled griddle or skillet over medium heat. Cook each pupusa for 3–4 minutes per side, until golden brown with slightly charred spots.
- Serve warm with curtido and salsa roja for a traditional Salvadoran experience.
Storage Options
Store leftover cheese pupusas in an airtight container in the refrigerator for up to 3 days. Reheat on a skillet or in the oven until warmed through. To freeze, layer them between parchment paper and store in a freezer bag for up to 2 months. Reheat directly from frozen on a hot skillet.
Notes
- If the dough cracks when flattening, your masa is too dry — add a bit more warm water.
- Keep hands slightly oiled to prevent the dough from sticking while forming pupusas.
- Traditional Salvadoran cheese (quesillo) melts beautifully but mozzarella is a great substitute.
Tips for Success
- Don’t overfill with cheese or it may leak during cooking.
- Let pupusas rest a minute before serving — the cheese inside stays molten hot.
- Use a cast-iron skillet for the best golden crust.
- Serve with a side of curtido (pickled cabbage salad) for authenticity.
Additional Variations
- Bean Pupusas: Add refried beans instead of or along with cheese.
- Revuelta: Mix cheese, beans, and cooked pork for a classic combo.
- Vegan Pupusas: Use vegan cheese or mashed black beans.
Frequently Asked Questions (FAQ)
Can I make pupusas ahead of time?
Yes, shape the pupusas and refrigerate them uncooked for up to a day. Cook right before serving for best results.
What’s the best cheese for pupusas?
Salvadoran quesillo is traditional, but mozzarella, Oaxaca, or Monterey Jack work well too.
Do I need a tortilla press?
No — pupusas are traditionally shaped by hand, but you can use a press lined with plastic wrap for convenience.
Can I bake pupusas?
They’re best griddled or pan-fried for the authentic crispy exterior, but you can bake at 400°F for about 15 minutes if needed.
Conclusion
This cheese pupusa recipe brings the taste of El Salvador straight to your kitchen. With its golden crust, molten cheese center, and comforting corn flavor, each bite captures authentic Latin flavor. Serve it hot with curtido and salsa roja for a complete and satisfying meal everyone will love.