Tools and Materials
- cardboard
- masking tape
- putty knife
- joint compound
- paint (one color for the grout and one for the bricks)
- white paint (if you want a whitewashed look like I did)
- paint brushes

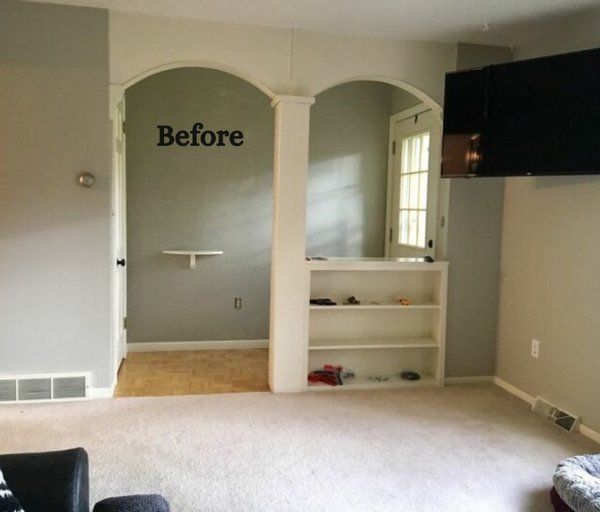
Create a Template
Create a Template and Tape off Your DesignI started my faux brick by cutting out a little piece of cardboard the same size of the bricks on my fireplace (8” L x 2.25” T) to use as my template. Using 1/2” masking tape, I went along and marked each end of my cardboard template with a piece of tape. You can really do any size and layout you want!

Cover with Joint Compound
Cover with Joint CompoundI used a 2” putty knife and covered the whole area I was bricking with about 1/8” of joint compound. I made sure I had good coverage over my tape – I didn’t want to see any lines or thin spots around the tape, so there would be dimension when I peeled the tape off. I also tried not to smooth the joint compound out very much.

Joint Compound

Let Dry a Bit
Let Dry a BitAfter I had all my joint compound spread, I waited about 5 – 10 minutes and then removed the tape.


Paint
PaintNext, I painted the arches my wall color again, because this is the color I wanted my grout to be.

Add Brick Color
Add Brick ColorThen I lightly brushed each brick with my brick color – I chose Valspar Two Cents.

Whitewash
WhitewashWhen that was dry, I dry brushed a super light layer of Sherwin Williams Alabaster over each brick to give it a white washed look. For more detailed videos of my painting process, visit my story highlights on my Instagram!

DIY Faux Brick Archway

Light Fixture
Once I had my arches looking good, I knew we had to change that amber light fixture. One project always leads to another around here. 😅

Faux Brick Archway
I think the faux brick really pulled the room together and totally goes with our all brick home! To see more of my home and DIYs, click here!

Homemade Faux Brick Archway

Whitewashed Faux Brick Archway