Old-Fashioned Sour Cream Doughnuts are coated in glaze and taste just like the cakey ones at your favorite bakery! No yeast makes this recipe quicker and easier.
When I get a doughnut craving, it’s intense. A lot of doughnut shops make pretty bland and greasy doughnuts that leave a weird residue on your tongue, at least that’s been my experience.
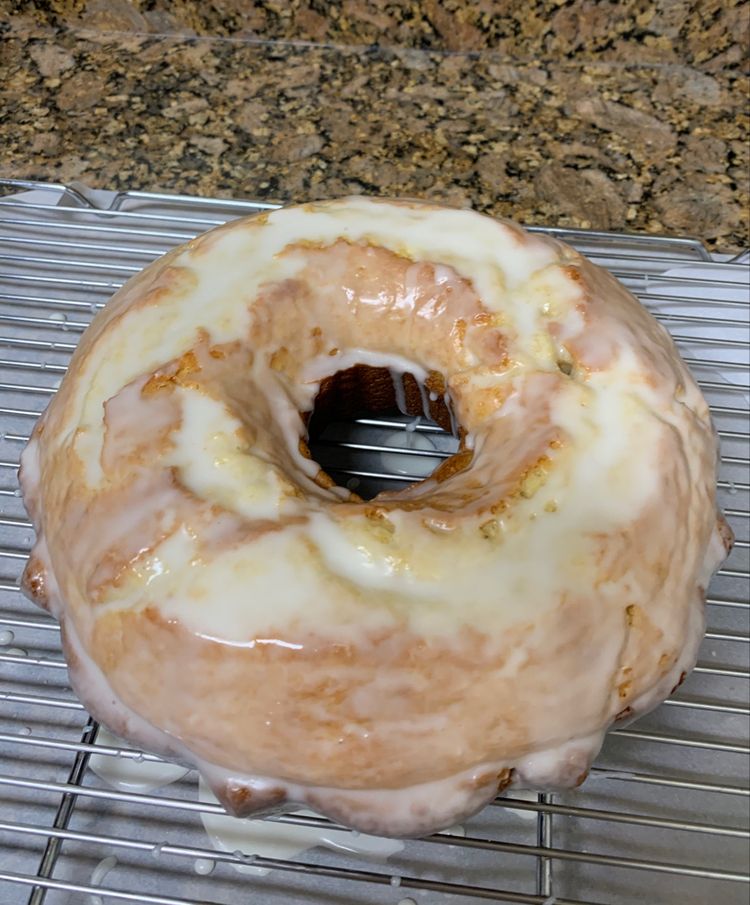
These old fashioned sour cream donuts are cakey, tender, and made with no yeast! Fried to perfection and dipped in a simple vanilla glaze, these donuts are easy to make and are a classic favorite.
To make this easy muffin recipe, I’ve added everything you’ll need below:
For the waffles, you will need:
° 250 grams of cake flour.
° 1½ teaspoons of baking powder.
° 1 teaspoon of salt.
° 1/2 teaspoon ground nutmeg.
100 grams of sugar.
30 grams of soft butter at room temperature.
2 large egg yolks.
115 grams of fresh cream.
Rapeseed oil, for frying.
+For the glass, I used:
° 350 grams of sifted powdered sugar.
° 1 1/2 teaspoons of corn syrup.
° 1/4 teaspoon of salt.
° 1/2 teaspoon vanilla extract.
° 1/3 cup of hot water.
* How to make the cakes:
Step 1: I sifted the cake flour, baking powder, salt and nutmeg into a mixing bowl.
Step 2: Gathered the butter and sugar in the bowl of a stand mixer with the paddle attachment and beat until sandy.
Step 3: I then mixed in the egg yolks until they were light and thick.
Step Four: In three batches, I added the dry ingredients to the mixer bowl, alternating with the sour cream and ending with the flour.
Step 5: When the dough became dirty, I chilled it for an hour after wrapping it in plastic wrap.
Step six: Next, I rolled out the dough to about 1/2 inch thick on a fresh sheet.
Step Seven: To make as many cupcakes as possible, I used a doughnut cutter or two different cookies, dipping the cutters in flour as needed to keep them from sticking.
Note: You should be able to get about 12 donuts and holes with this recipe.
Step Eight: In a heavy-bottomed pot equipped with a frying thermometer, I added 2 inches of canola oil.
Step 9: I fried the cakes in groups, being careful not to overcook the pot, it took 2 minutes on each side.
Step 10: I removed it from the oil and poured it into a paper bag to absorb the remaining grease.
Here’s the method for the glaze:
Step 1: In a mixing bowl, whisk all ingredients together until smooth.
Step 2: Using a pastry brush, I coated each donut with glaze.
Step 3: To catch the excess glaze, I placed a rack on a tray and let it dry for 20 minutes.
Note: The cakes are best eaten the same day they are made, but can be stored at room temperature for a few days in an airtight bag.