
Once the bonding primer has dried you can prime again with Behr paint and primer in one, I just used the white it comes in, I didn’t tint it.

Then pour the smaller cups back into the big tub in a random sequence, spraying your spray paints in between every couple. You don’t need to do it this way, you can choose to just mix your epoxy together and add the initial base color of white and then pour straight to your surface and add color in as you go but I wanted to get the glitters distributed evenly throughout the whole thing rather than sprinkling on as I went.

Then I poured all of my mixed epoxy over the middle of the first counter, staying away from the edges. Then take your 1/8th square notch trowel and spread the material. At this point it will look awful because you’ll see all the trowel marks in the pattern but that’s why we take a clean paint brush and start “chopping” the surface. This breaks the surface tension and starts melding the colors together and because of the way I mixed the colors first before pouring it already halfway looked like I wanted it to!

As you continue chopping your colors, just be sure to be very random rather than moving methodically left to right or up and down, this will make it look more natural. You can also use a heat gun to further mellow the colors together where you feel it needs it.

I will tell you, that no matter how much you clean, wrap and cover your work area you will end up with lint in the epoxy. I was fighting against two cats running around with a case of the zoomies so I got a few hairs in it too. What I did for these hairs was pluck them out with a pair of tweezers and then blast the blow torch on the area for a second until it smoothes again.
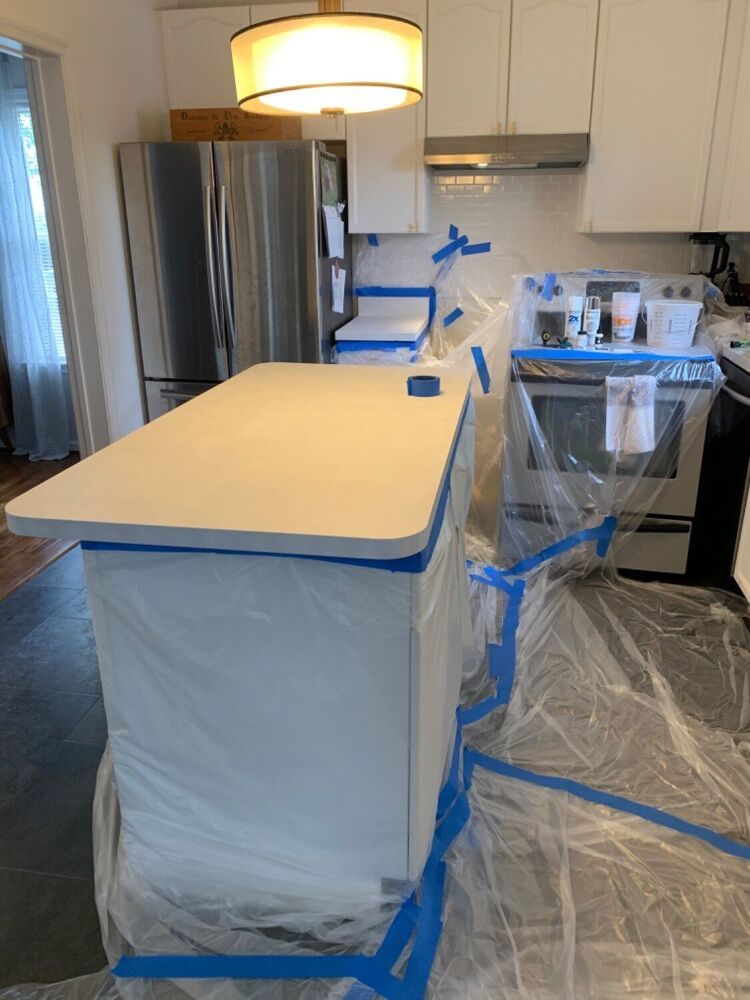
Remove any tape that is physically stuck in the epoxy underneath otherwise it will set in there and remain forever. I did a double layer of prep so I removed my top layer before I went to bed as that was covered in runs and drips, leaving my clean layer below to catch any extra drips that happen.

You can choose to do a second flood coat of totally clear epoxy which is recommended if you add your glitters and sprays after pouring to the counter but I premixed since I knew I wouldn’t have enough product left to do a second flood coat and my first coat is pretty thick so it’s not necessary. I can always go back in later if I decide to buy more product.
Remove the rest of your plastic in the morning when the epoxy has really started to set. Lint can no longer stick in it at this point you just can’t touch it or put anything on it as you’ll indent it.

Let it set for 5 days before light use. It will continue to cure for 30 days, after which you can put your countertop appliances like toaster or a kettle on it.
you absolutely can do this! It takes time and a lot of patience but now that it’s finished it’s worth every penny and I am thoroughly impressed.
It really does look like marble and will easily fool your visitors into thinking so. It feels very substantial also, it’s been curing for a week and I cannot even mark it. I tried a fork on an inconspicuous area as an experiment and nope, no marks!
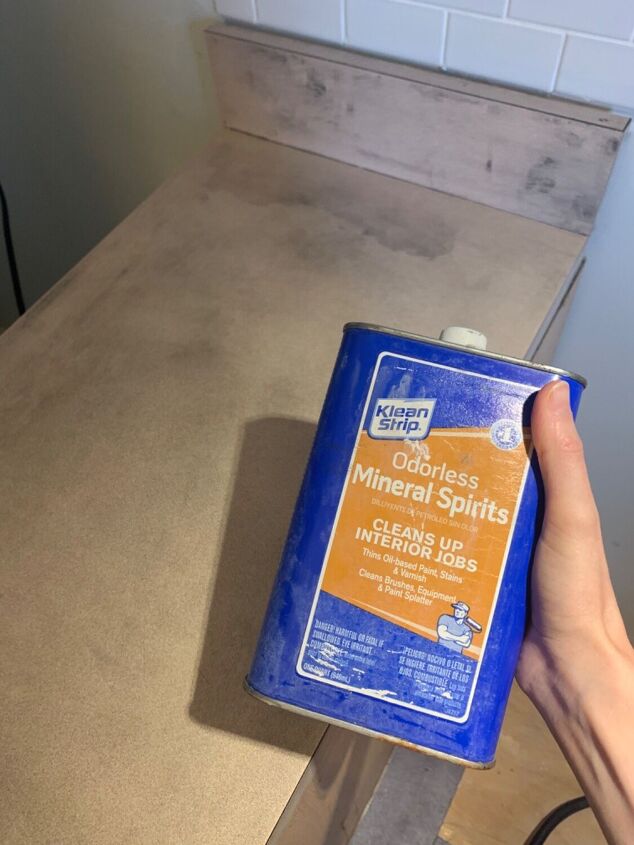
please note that the additives are not correct on the materials list (I have no control over that), but the correct additives are available from stone coat countertops and I used diamond dust, bright silver powder, pearl metallic powder, white metallic powder, alumidust light yellow and alumilite white dye. the drill attachment is also incorrect, you need a helix paint mixer (looks like a propeller).