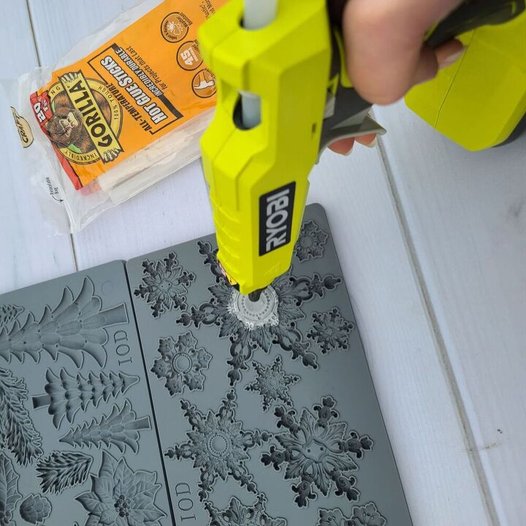
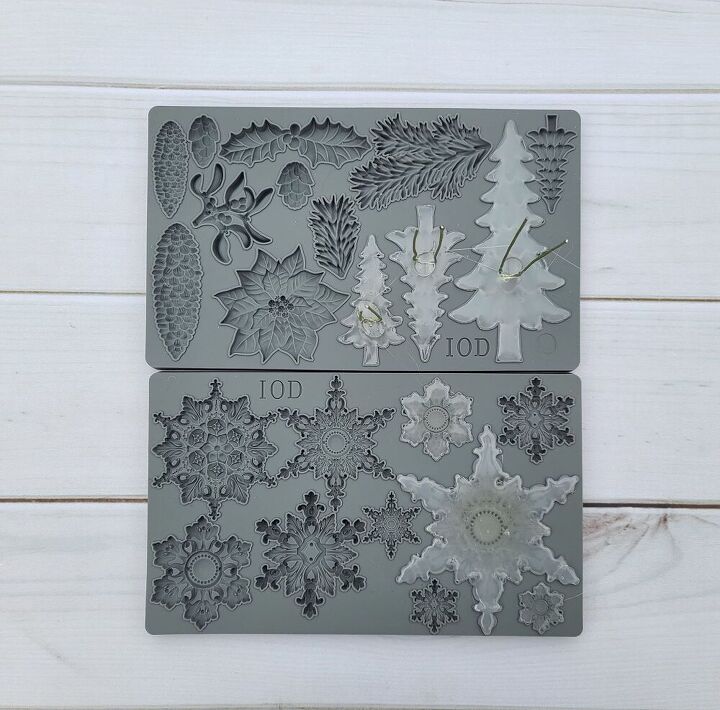
I really wanted to use some of these glue forms on wreaths. Since I tend to use wire to attach many things to wreath forms, I tried folding the wire in half and inserting it into the glue while it was drying. It worked!
I suggest waiting around 30-45 seconds before inserting the wire so they stabilize a bit quicker. If you add them immediately (especially when using a high heat glue gun), you’ll have to hold them in place until the glue starts to harden.

This is an incredibly satisfying step! Just bend the mold and pop out your glue forms. You may need to clean up some of the edges before moving on to the painting or rub n buff steps!

Once you have your glue forms out of the mold, you can start to transform them. Grab some craft acrylic paint and start painting!

You can also use rub n buff to add some metallic shine! It really picks up the details well and is the perfect amount of extra extra.
Dab a little on your finger (you can wear gloves if you want) and lightly rub the metallic wax over your glue form. Once it is dry, time to buff! The more you buff, the shinier the finish.

The trees and the snowflakes on this project are all made of glue and I am so excited at how versatile they are!
If you want some tips on how to create using a square grapevine wreath form, check out my Whimsical Woodland Wreath video on HTTV!
I hope you are able to give this a try 
To Keep Reading Please Head On Over To Next Page Or Open button (>) and don’t forget to SHARE with your Facebook friends