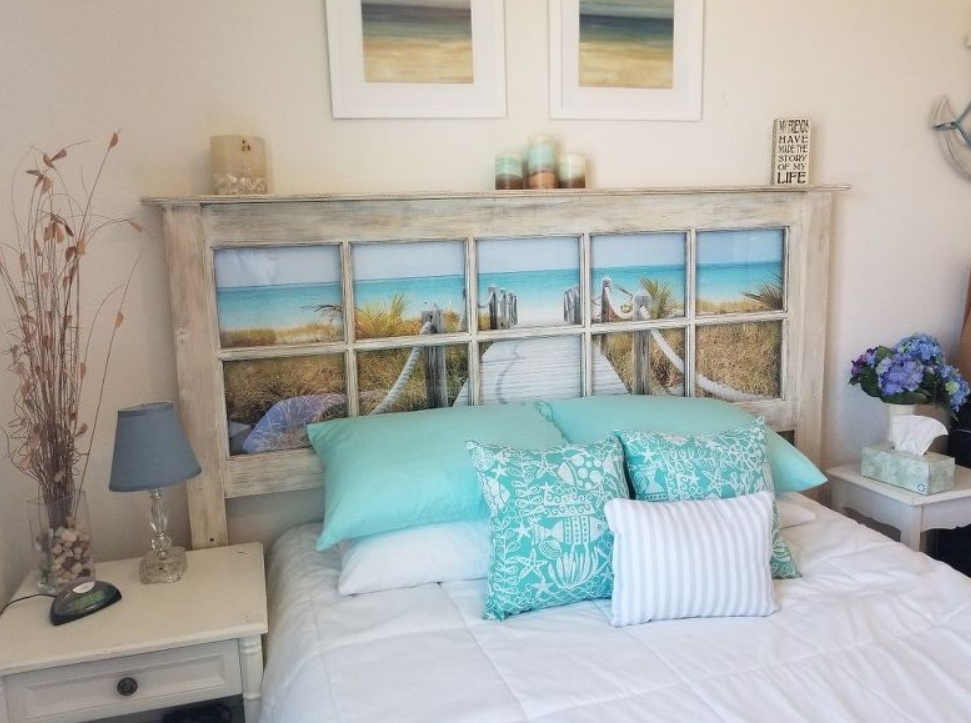
Vintage Glass Pane Door Headboard

I’ll admit it. My guest room is my favorite room in the house. It is beach themed and so inviting and while I have never slept in there, I am always looking for unique ways to add to the decor. So when I picked up a vintage glass panel door (like this one) from an antique fair, a wave of inspiration came over me. See what I did there? Beach. Wave. ?
vintage glass pane door headboard

First I had to sand down the painted parts a bit. Luckily, in the end I wanted it weathered looking so that meant I didn’t have to spend too much time with the sander. I just needed to get the chips and any slivers taken care of.
vintage glass pane door headboard

Then it was off to Home Depot to pick up one each of the following:
1x4x8 (cut in half)
2x4x8 (cut in half)
1x6x8 tongue & groove plank.

Then I sandwiched the door between boards on either side, with the 1x4s in the front and 2x4s in the back and secured them with 4″ wood screws (make sure to drill your pilot holes first). This created “legs” and then I attached the tongue & groove plank to the top for a shelf.
Next came the painting. I applied a light coat of watered down antique white latex paint over the whole thing (covering the window panes with paper and tape to aid in clean up) and then once dried, I applied a little magic that I learned restoring furniture.

In this jar is a solution of white vinegar and steel wool that has been curing in my cabinet for years. When a small amount is applied to plain wood or even lightly painted wood, the most amazing, natural looking weathering happens right before your eyes.

Update: If you dont have this magic potion already on hand just grab a jar and put a wad of genuine steel wool (not SOS pads) and top it off with distilled white vinegar and let it do its chemical magic for 2-3 days. The longer it sits the darker it will get.

This is what it looks like over the white washing. See how the bits of exposed wood soaked up the solution and darkened?
The pis de resistance came when I attached the custom sized beach poster from www.murals.com to the back. I could not believe my eyes how beautiful this was. But before that… safety first.

I recruited the hubs in bolting the two sides to studs in the wall because this bad boy is hea-vy but boy-oh-boy he is worth it.
Update: I would not suggest attaching this to a standard bed frame for fear of it falling over and making for a really bad visit for both you and your guests.

Here is the finished product!
The only thing left to do was to grab a cup of tea and my book and finally spend the night in the beach guest room. Which I did, all by myself and let me tell you, it was wonderful.

Materials used for this project:

-Wall mural

-Wood

-Diamond Brite Paint 21450 1-Gallon Semi…

-Heinz White Vinegar, 64 Ounce

-Vintage glass panel door

-Shappy 9 Pads Steel Wire…