
Large cement planters make for great, modern outdoor style. However, as a DIY option, they take a lot of cement, and building the forms is no small task. When I saw these smaller, solid cinder blocks available at Menards for only $1.09, I decided to give this simple technique a shot. We’re thrilled with the results.

Front Stoop
This is the area we wanted to upgrade. We’d recently added an awning to our front stoop and pulled out our old, wood planter. The 4×4 awning supports left a bit of an eyesore we’ll be building the planter around.
Tools and Materials
pea gravel
cinder blocks
mason chisel
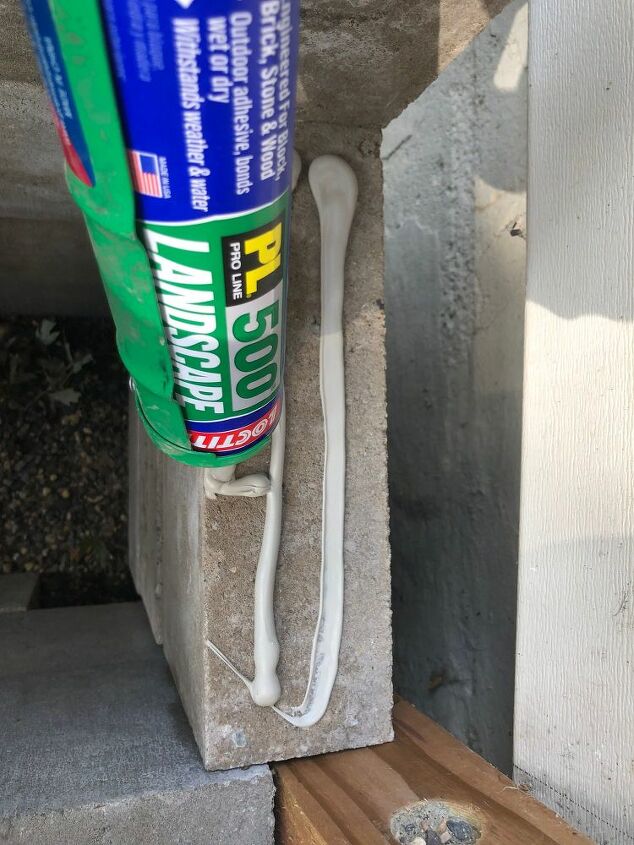
landscape adhesive
concrete polyurethane sealant
2x4s
paint
rail planters
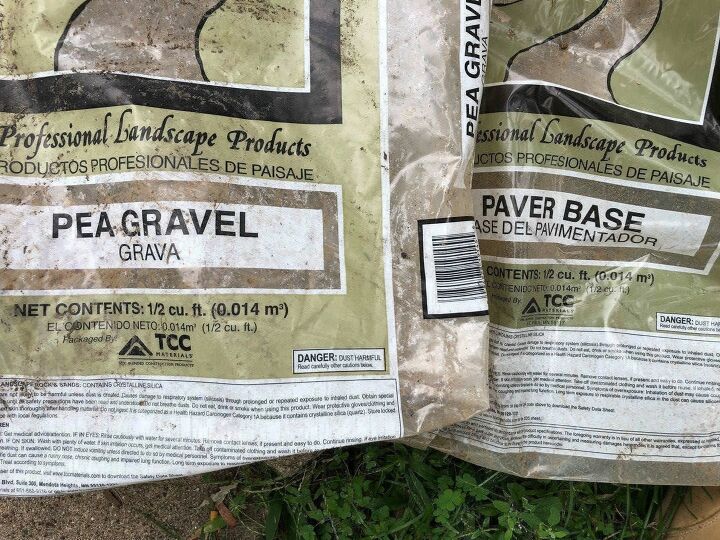

Pea Gravel
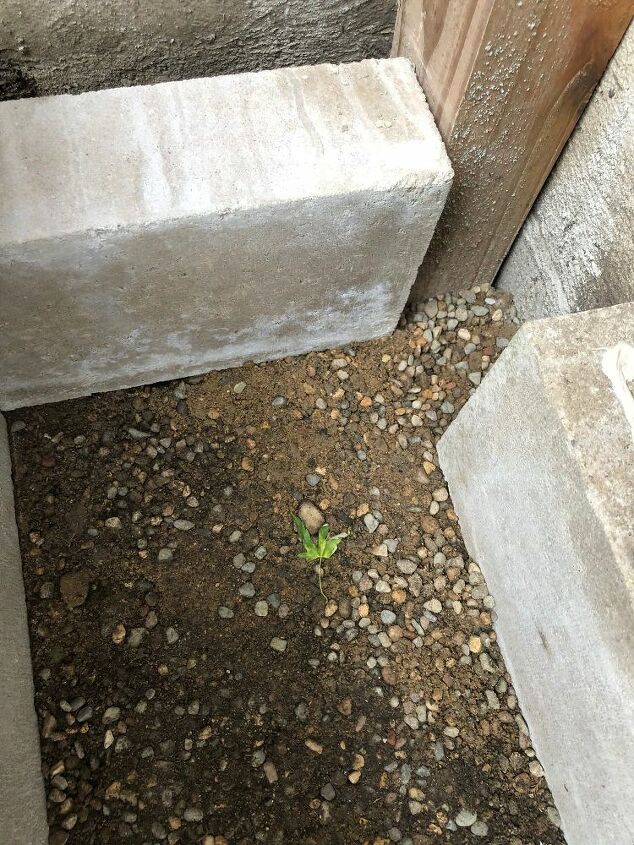
Create a BaseI started by digging out a flat area 20” wide by 3-5″ deep. I spread paver base and pea gravel to level the area out.

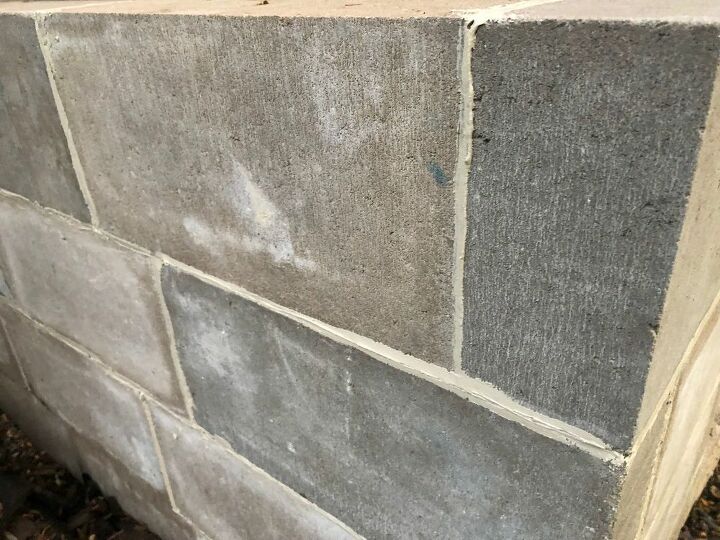
I used solid blocks that were 3 1/2″ x 15 1/2″ x 7 1/2″. They only cost $1.09 each at Menards.
Stack the BlocksI stacked the blocks in a basic pattern, overlapping the edges in each corner except for where I hit the pole I referenced earlier.

This is the planter, blocks fully stacked, from another angle, before any of the finishing work.
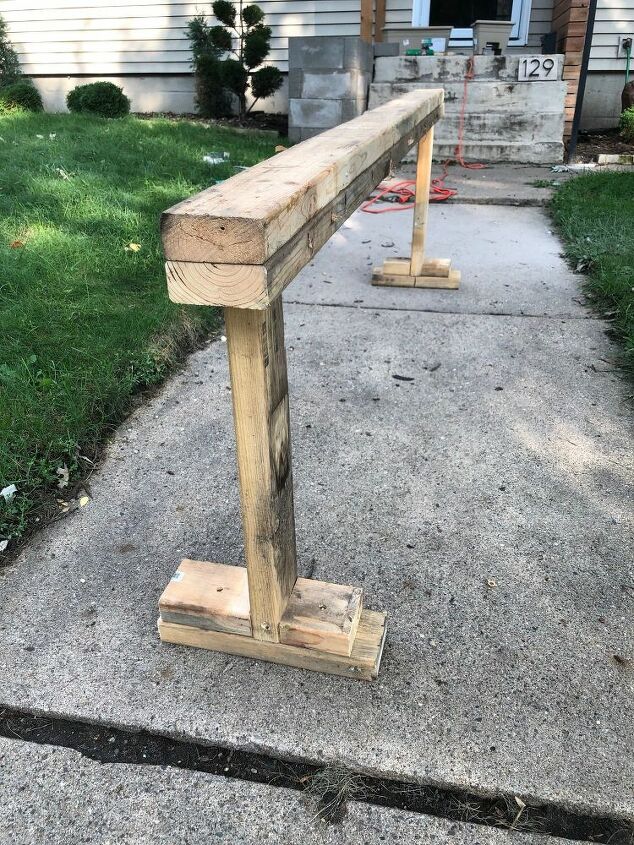

These are the rail planters I used inside the concrete planter. It was quite a bit more efficient (and cheap) to build a rail to mount these planters inside than it would have been to fill the entire large planter with dirt.


Just like any wall, I did the edges with a brush and rolled the majority. The can of black concrete paint was $21 at Home Depot.

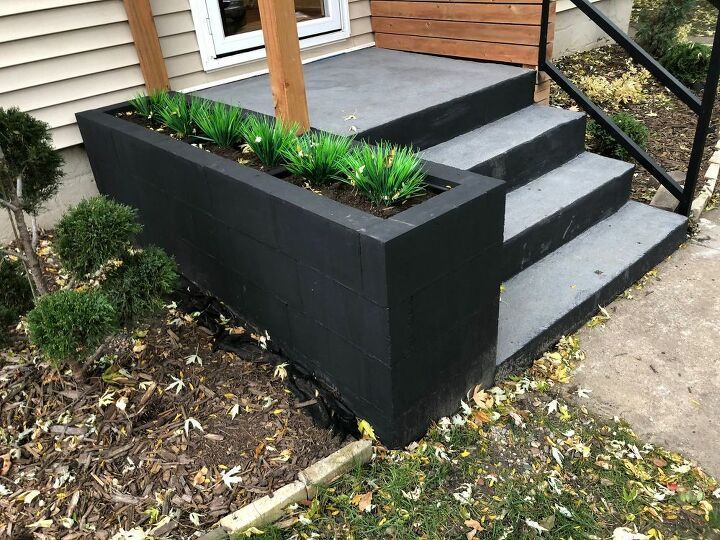
Finished product!

I used leftover black spray paint to cover the edges of the plastic rail planters and built the rail so the plastic planters sit about an inch below the top of the concrete. It looks great, and they blend together well.
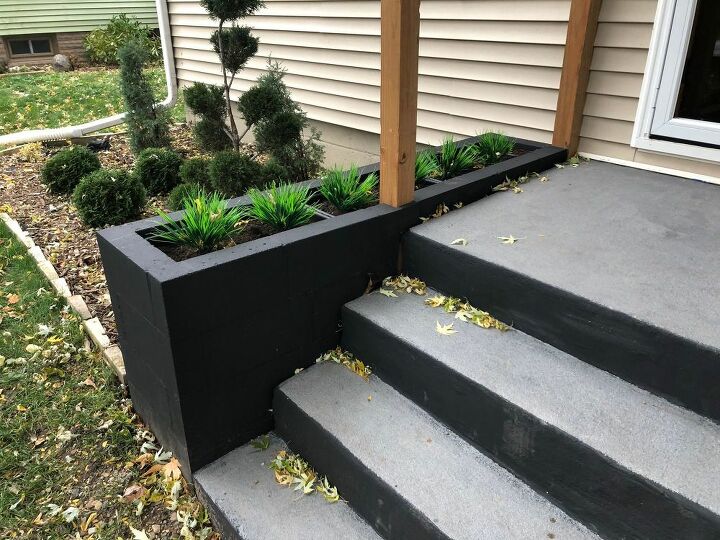
Even with the caulk and paint, you can still notice the cracks, but we’re very pleased with the overall look. If you noticed… yes, those are fake plants. It’s October in Minnesota, so I didn’t want to put in real plants just to watch them die. That will have to wait until spring. Follow me on Instagram at @woodyworking for more simple woodworking DIY or home improvement projects.