In a season where you’re already breaking the bank on presents and parties the last thing you want to do is spend more money to decorate your house, which is why I love this project so much!
You won’t believe what this cute little tree is made from!


…wire hangers! Can you believe it?! I took them out of my closet and didn’t have to spend a dime on what will be the structure of my tree!
The next couple steps are a little hard to explain, so hopefully the pictures will help.
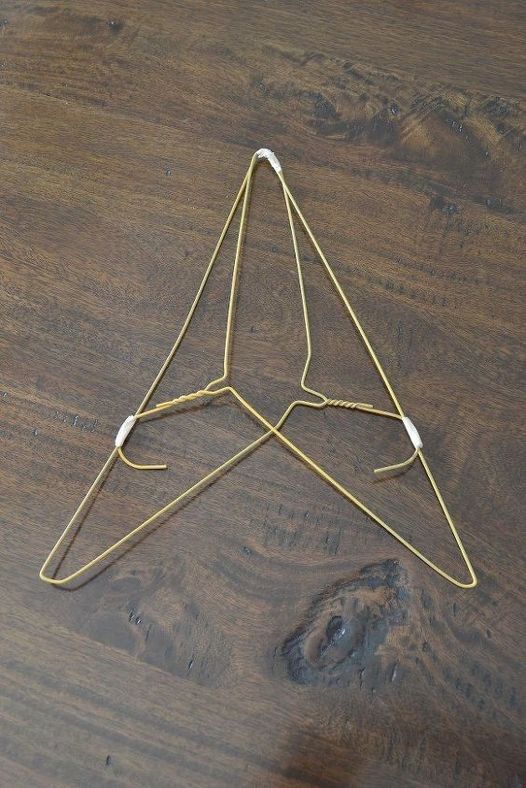
I took 2 hangers and overlapped them to form a triangle shape. I took the “hook” part of the hangers and hooked them around the base of the opposite hanger. I secured the overlapping parts with masking tape (pictured above). You will need to repeat this step 2 more times (for a total of 3 “triangle” pieces).
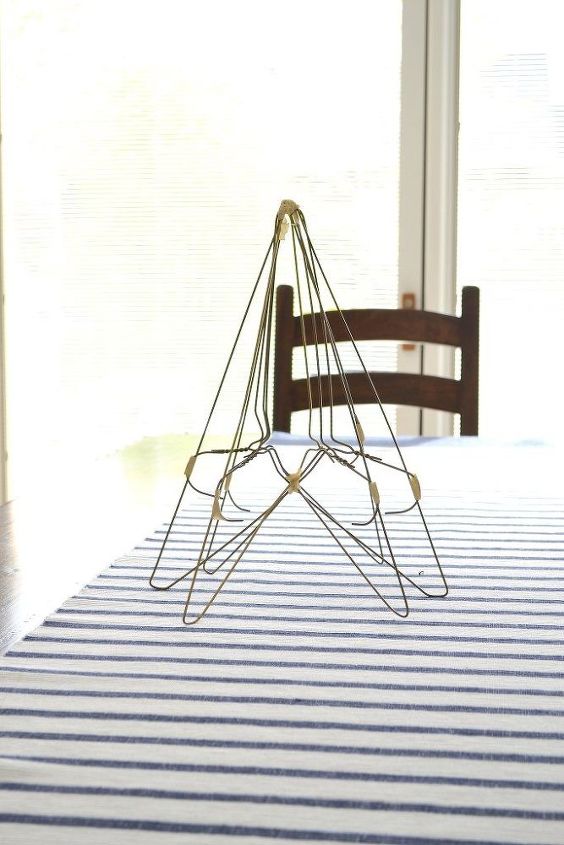
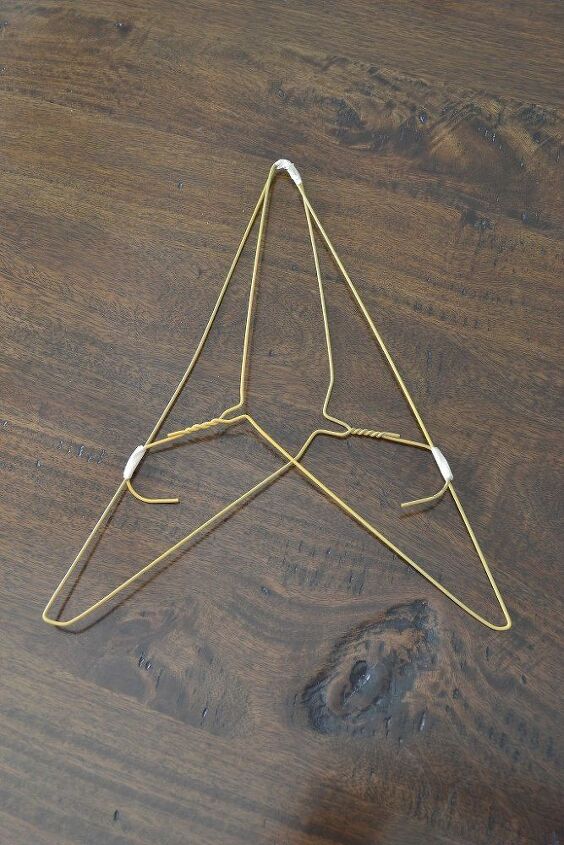
After I made the three main pieces, I inserted the leg of the 2nd and 3rd piece through the middle of the first piece to form the tree frame. The legs should end up all be equal distances apart.
I taped the top overlapping pieces together, and the overlapping pieces in the tree’s center together with masking tape.

Here’s what it looks like from the top view.

I first wrapped the lights around the tree form, starting from the top and ending at the bottom. I secured the lights with tape in a few places that weren’t staying where I wanted them to, but overall they stayed put.
Next I wrapped the garland around the tree form and lights, starting from the top and ending at the bottom. I would occasionally wrap the garland around a piece of the hanger to make sure it stayed in place, while continuing to work my way down to the base.
If you’re having a hard time getting the lights and garland to stay where you want them, you could also secure them with green twist ties.
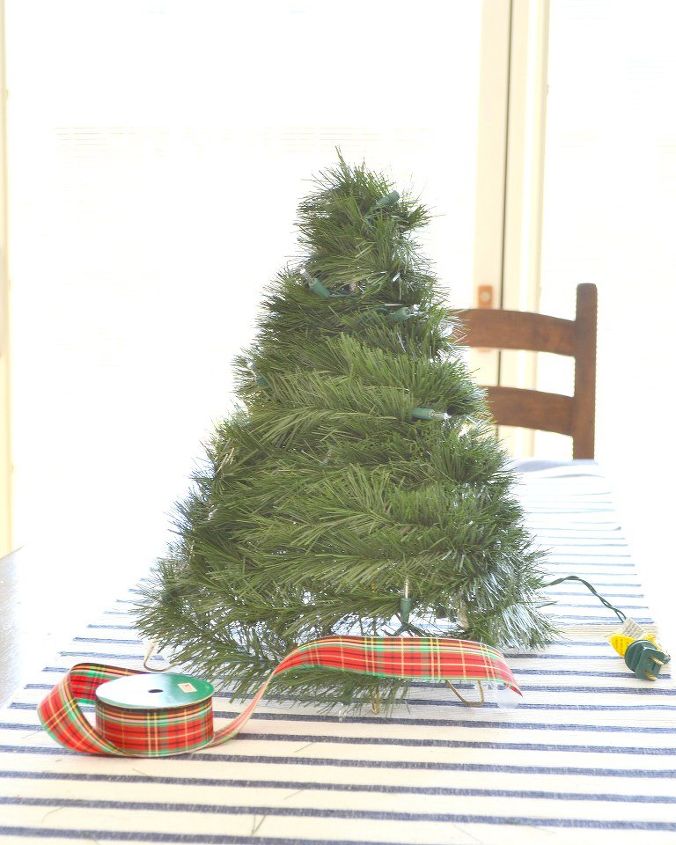
I added some decorative ribbon, but mostly just kept it simple.
I wrapped the ribbon loosely around the tree and tucked it in between the strands of garland to hold it in place.


I really love how it turned out. You really can’t beat the price on this, either!
For more details and pictures, be sure to visit the link below!