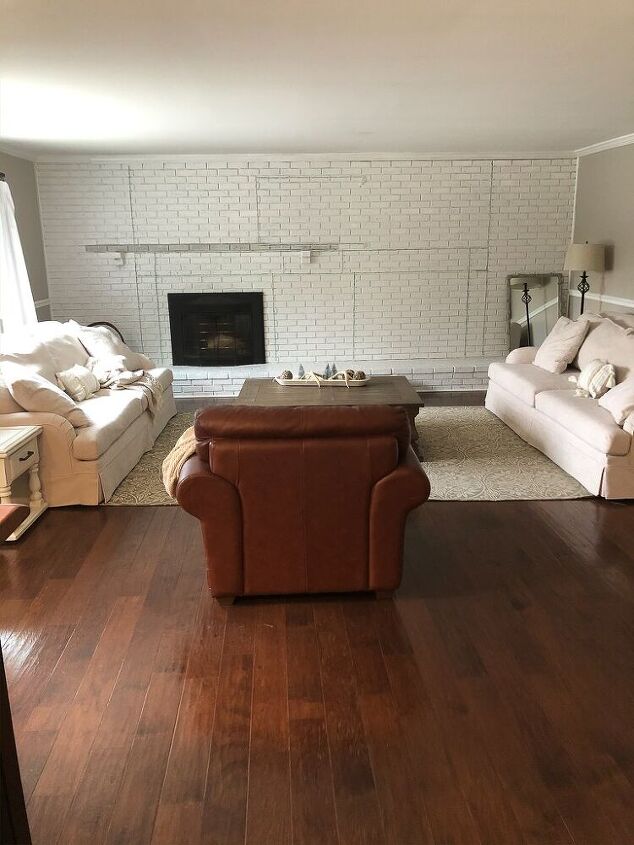
In this tutorial, you’ll learn how to build a DIY fireplace mantel with built in bookcases.

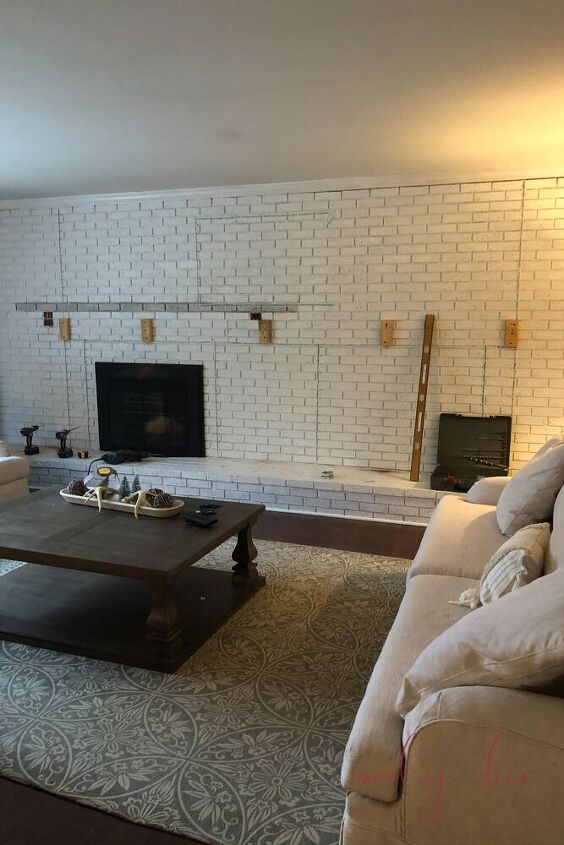
Step 1: Do a Mockup with Tape
As you can see in this image, we used masking tape to a mock up of where the mantel and built ins would go before we started the project!
Step 2: Gather Materials
For this project, we used:
- (3) 4×8 sheets (1/2 inch) of Ecuadorian Plywood – (used for the majority of the project, for the mantel including the mantel posts and as backboard to connect the bookcases & mantel. Jason hand cut these boards for the entire mantel to make a board and batten style look.)
- (8) melamine boards 1′ x 3/4” x 8′ – (used for the bookshelves sides and shelves. 4 of these boards were predrilled with bookshelf holes and used as the sides of the bookcases.)
- (2) 1/8th” 4” x 8” melamine sheets for back of bookcases
- 3/4” x 2” trim board on shelf exteriors
- 3/4” x 8” x 16′ primed pine wood for mantel shelf
- 3 5/8” crown for mantel
- 2 x 4 lumber (used as wood anchors to drill plywood into)
- Caulk
- 1/2” shelf tabs for bookshelves
- crown molding for the top of the entire unit
- Rotary hammer drill (used to drill into brick to attach 2 x 4 wood anchors)
- Compressor and finish nail gun (used to shoot in the plywood to the wood anchors)
- Cordless skill saw(used to cut plywood for the whole project, including making board and batten for mantel)
- Wood glue(used to join two pieces of wood together before nailing them)
- Liquid nails Have Duty construction adhesive (used to secure plywood to brick)
- Tapcon concrete screws (used to fasten the wood to the brick wall)
- Drill
- table saw
- Miter saw and stand (used to cut small board and batten as well and base trim on mantel posts)
- Oscillating tool (used to touch up cuts)
- Sledge hammer (used to knock down bricks that were sticking out of brick wall)
- Level
- Measuring tape
Step 3: Add wood anchors
To build the mantel, we had use a rotary hammer drill to drill into the brick. We attached small pieces of 2 x 4 lumber using tap con concrete screws and made sure they were aligned using a level.

Step 4: Create wood box
Next, we created a wood box using Ecuadorian Plywood to be the foundation of the mantel. We secured it over the 2 x 4 wood anchors.

Here’s how it looked once the top section was done!

Step 5: Repeat this process for the “legs”
Here’s how it looked complete.

Step 6: Make the Mantel Top
Here’s the components of the mantel.

Step 7: Add crown molding & board and batten
We secured crown molding to the edge of the mantel for a finished look on the top of the mantel.
We used more Ecuadorian plywood to create a board and batten look on the mantel base.

Step 8: Create middle section
We have an uneven fireplace so we made a middle section to separate a second section for storing wood. If you have a fireplace in the middle of your room, you can skip this part.

Step 9: Make Custom Bookshelves
To build the bookshelves on either end, we used (4) 1′ x 3/4” x 8′ melamine boards that had predrilled bookshelf holes. These made up the sides of the bookcases.
We used (4) 1′ x 3/4” x 8′ melamine boards that didn’t have any predrilled holes for the actual shelves. We had to cut these to fit perfectly in the bookshelves.
The backs of the bookcases were made of (2) 1/8th” 4” x 8” melamine sheets.
Lastly, we added 3/4” x 2” trim boards on the shelf exteriors. This made the bookcases look even better!

Step 10: Add plywood to remaining brick
Jason secured plywood to the remaining brick to connect the bookcases and the mantel, which made it look like one cohesive unit.
During this process, we had to move the electrical so that we could easily hook up the TV without having cords hanging down everywhere.

Step 11: Paint it White
I used the color Ultra Pure White by Behr Paint. It is a beautiful bright white and such a high quality paint.

Step 12: Decorate!
Here’s how this area looks now! I love it so much.