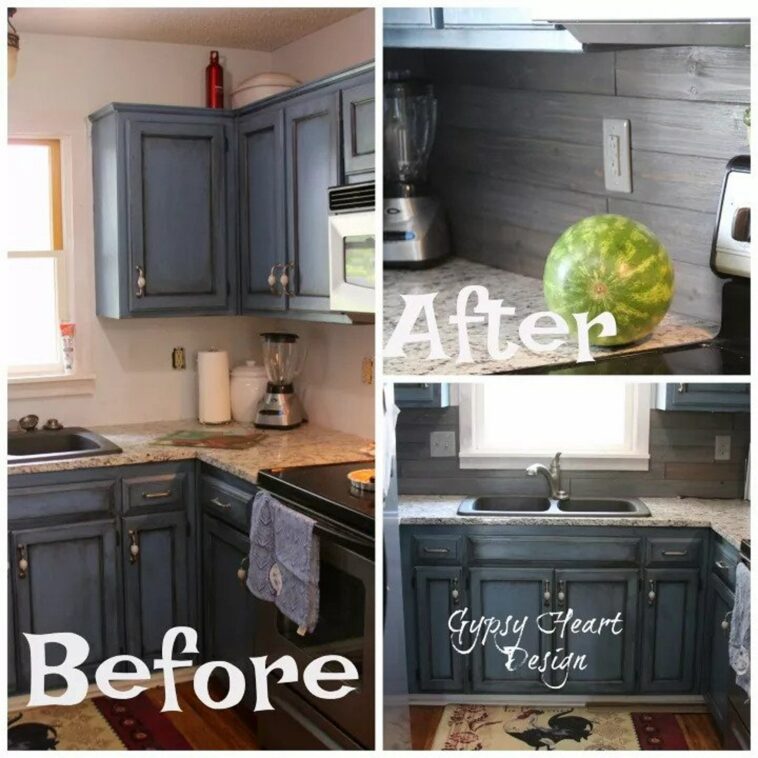
In the interest of doing Pinterest on a budget, I searched non tile backsplash. Tile is great but it a little more expensive and a little harder to do yourself. As I move upstairs into my bathroom, I will be doing tile and creating the e course on that, but for the simplicity and budget in a kitchen I chose a different path. After doing some searching on Pinterest, I happened upon shiplap backsplashes.
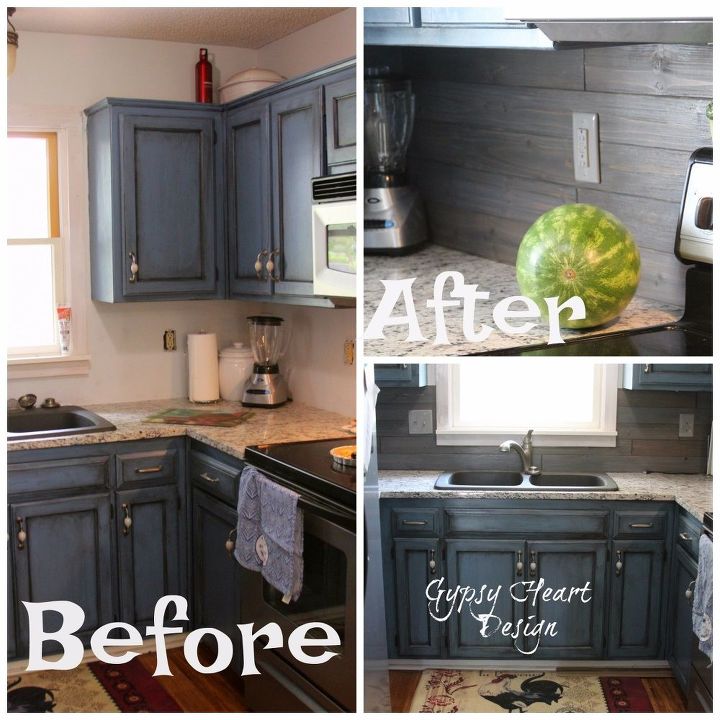
As you can see, there has never really been a backsplash. Just drywall with paint is super hard to keep clean and dry especially behind the sink!
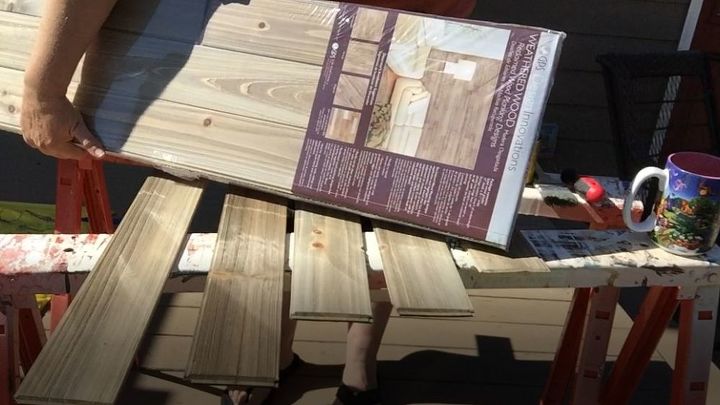
I headed out to Lowe’s (I know, Menard’s is my favorite but they don’t carry true shiplap– so disappointing! ) The pine I found is $11.97 for 14 square feet. I needed just about 30 square feet so I would need to buy 3 for a total of $35.91 plus tax. While I was looking it over, I spied some reclaimed wood planking that kept drawing my attention. I just couldn’t quit looking over at it and I decided that although it was more expensive, it was really cheap for a backsplash still. This was $21.97 per 14 square feet for a total of $65.91. Design Innovations Reclaimed 3.5-in x 4-ft Weathered Wood Cedar Wall Plank .
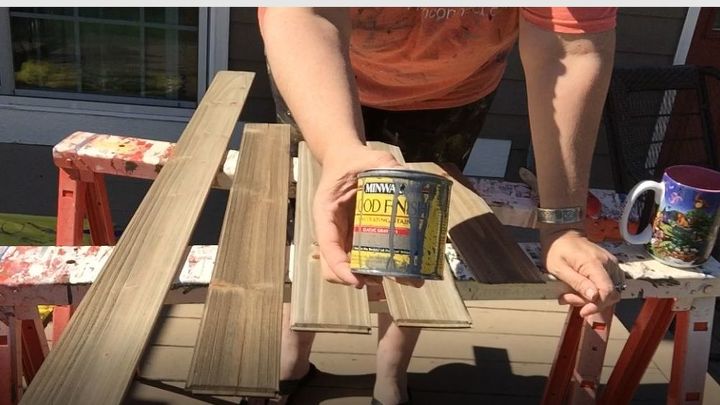
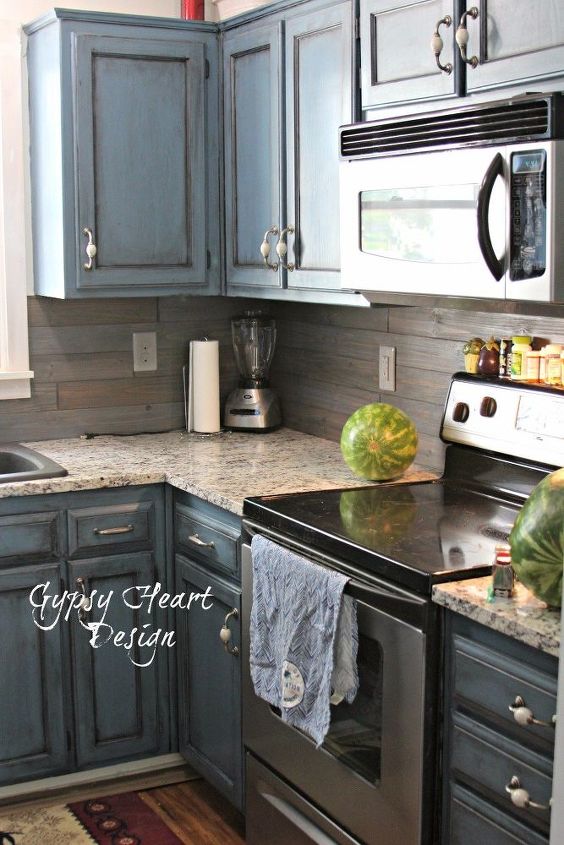
I decided that what I used needed to be grey to go with the rest of the house and match the cabinets better so I chose Minwax Classic Grey Stain from Lowe’s for a cost of about $10.00.
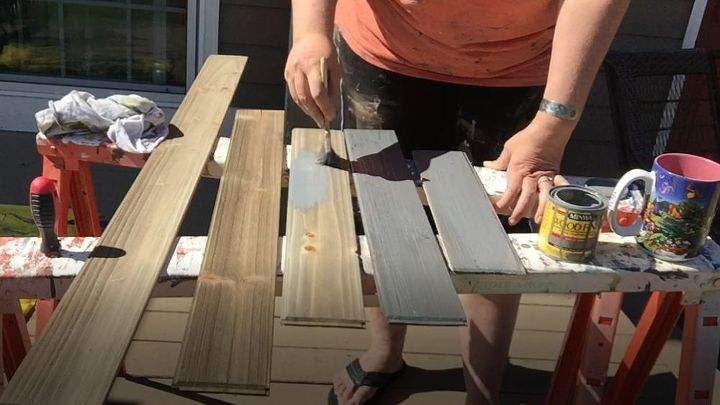
I stained the boards and wiped the stain back.
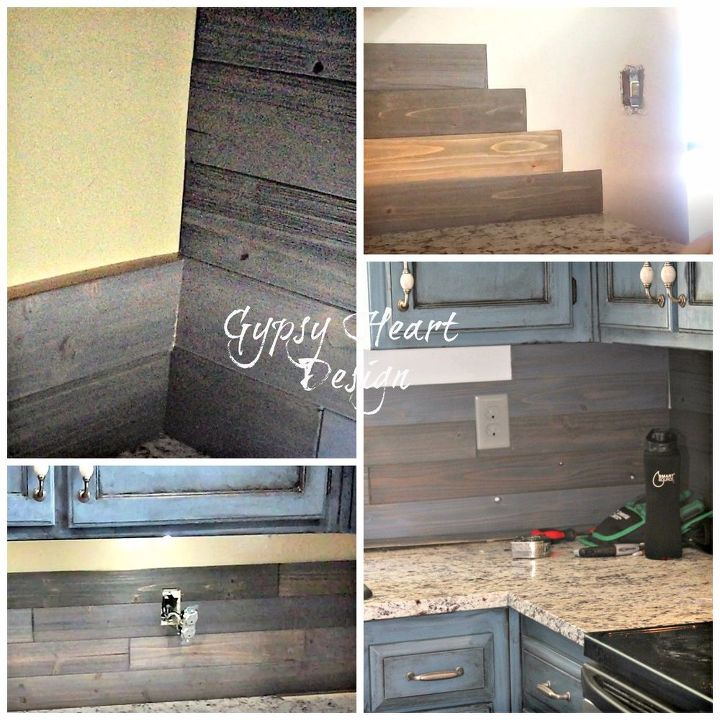
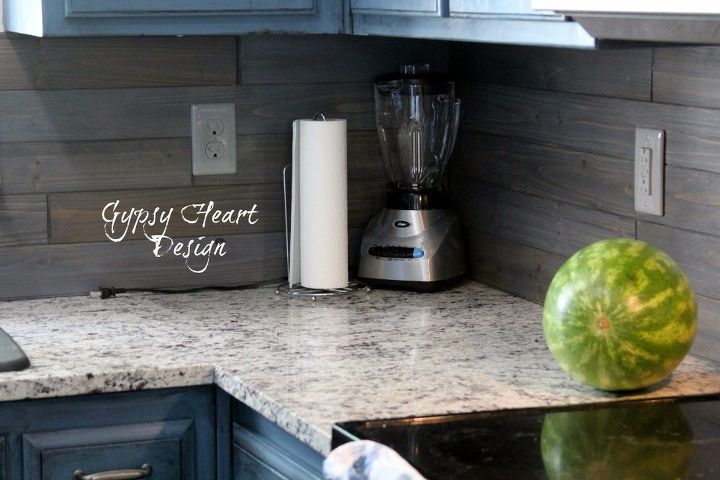
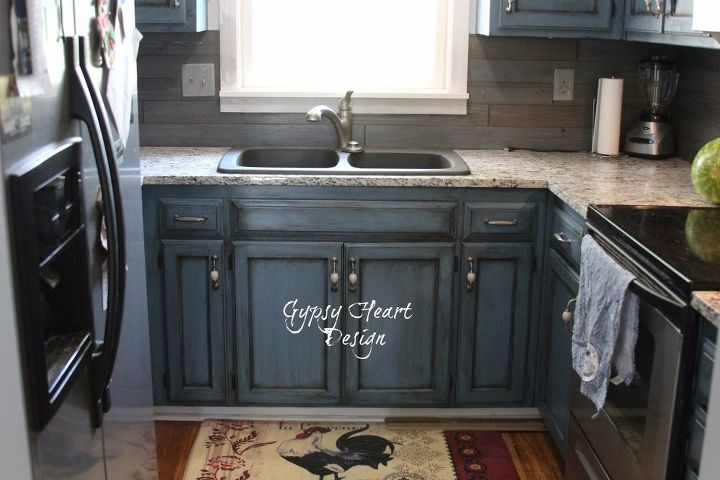
Once they were dry I started putting the boards up. After all the boards were in place and nailed in, I sealed it with Minwax Polyurethane and caulked with clear caulk where the backsplash meets the countertop for waterproofing.The result? A fabulous looking budget backsplash for about $76.00 plus tax!